- Introduction
- Why USB Tokens Became Mandatory
- Target Audience
- Choosing a Virtualization Environment
- 1. Preparing the Windows Environment
- 2. Installing UTM
- 3. Creating a Windows Virtual Machine
- 4. Installing Windows and Initial Setup
- 5. Installing Windows SDK
- 6. Connecting the USB Token and Installing Drivers
- 7. Executing Code Signing
- Troubleshooting
- Conclusion
- References
Introduction
- Purpose of this article: Explaining how to set up a virtual Windows environment on a Mac and execute code signing using a USB token
- Prerequisites: A certificate from GlobalSign already installed on a USB token
- Technology stack: macOS, UTM (virtualization software), Windows 11, Windows SDK, GlobalSign certificate
In the previous article "How to Download GlobalSign Signing Certificates Without IE Support", we explained how Mac users can download GlobalSign certificates to a USB token and how to resolve issues if the IE method was mistakenly chosen.
This time, we’ll explain how Mac users who have successfully installed certificates on their USB tokens can actually sign applications. Since we need to use Windows-specific signing tools, we’ll start by explaining how to set up a virtual Windows environment on a Mac.
Why USB Tokens Became Mandatory
You might wonder, "Why must we use a USB token instead of a PFX file?" There’s an important security reason for this.
Important Specification Change in 2023
As of April 24, 2023, as part of security enhancement measures, storing code signing certificates on USB tokens became mandatory. This specification change applies not only to GlobalSign but to all certificate authorities.
Why PFX Files Are No Longer Usable
Previously, it was possible to export certificates in PFX format and use them on multiple machines. However, this method increases security risks:
- Risk of private key leakage: PFX files contain private keys, and if the file leaks, the certificate can be misused
- Prevention of malware signing: If a certificate is fraudulently obtained, there is a risk it could be used to sign malicious software
- Physical security assurance: USB tokens require physical possession to use, providing enhanced protection against remote attacks
Official Response from GlobalSign
Here is part of GlobalSign‘s response regarding exporting to PFX files:
We regret to inform you that due to specification changes implemented on April 24, 2023,
code signing certificates must be stored on USB tokens.Therefore, certificates issued for USB token storage cannot be extracted in PFX format
(exported or copied for use elsewhere).This specification is common to all certificate authorities, not just our company, so we kindly request
that you first check with your service provider about compatibility and signing capabilities
(whether certificates stored on USB tokens can be used, etc.).
Target Audience
- Mac users who have already installed GlobalSign certificates on USB tokens
- Mac developers who need code signing but don’t have a Windows machine
- Those who want to run Windows tools in a virtual environment on macOS
Choosing a Virtualization Environment
There are multiple options for running Windows on a Mac:
-
UTM (used in this article):
- Free and open-source
- Apple Silicon compatible
- USB support (important: can recognize USB tokens)
- Relatively easy setup
-
- Paid software
- High performance but requires license fee
-
- Paid software
- High stability but complex setup
We’ll use the free UTM for this tutorial. However, the basic steps are the same regardless of which virtualization software you use.
1. Preparing the Windows Environment
Downloading the Windows ISO
The ISO you need to download differs depending on whether you’re using an Apple Silicon Mac or an Intel Mac:
For Apple Silicon Macs (works with M4 too):
- Visit the Windows 11 ARM version download page
- Click "Download Now"
- Download the ISO file (approximately 4-5GB)
For Intel Macs:
- Visit the Windows 11 standard version download page
- Click "Download Now"
- Download the ISO file (approximately 4-5GB)
Important Notes
- Installing Windows 11 may require a Microsoft account
- You can install without a product key as an evaluation version
- A stable internet connection is required for downloading
2. Installing UTM
UTM is free virtualization software that works on various Macs, including those with Apple Silicon.
- Visit the UTM official website
- Click the "Download" button
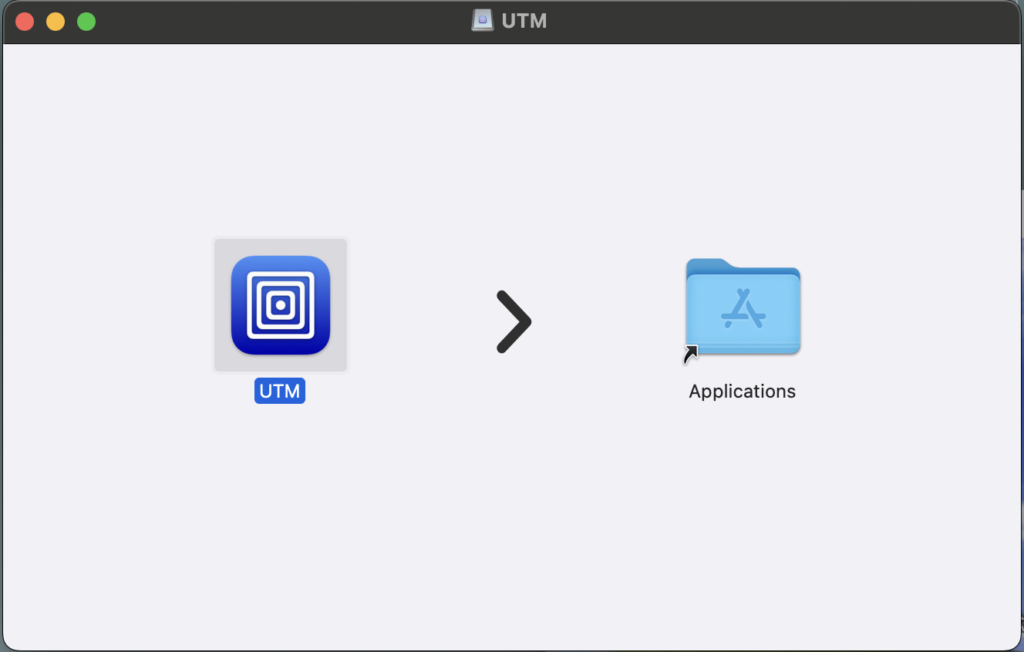
- Open the downloaded DMG file and drag UTM to the Applications folder
3. Creating a Windows Virtual Machine
Basic Settings
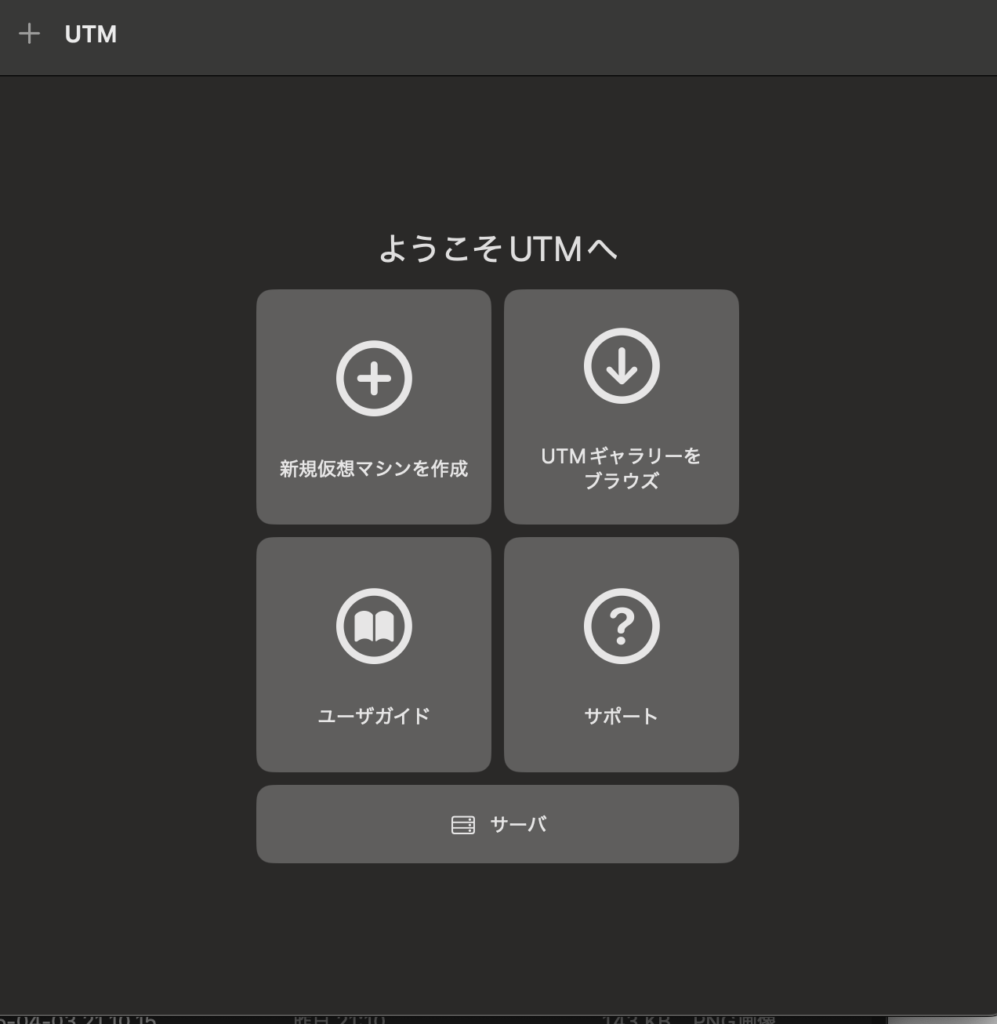
- Launch UTM and select "Create a New Virtual Machine"
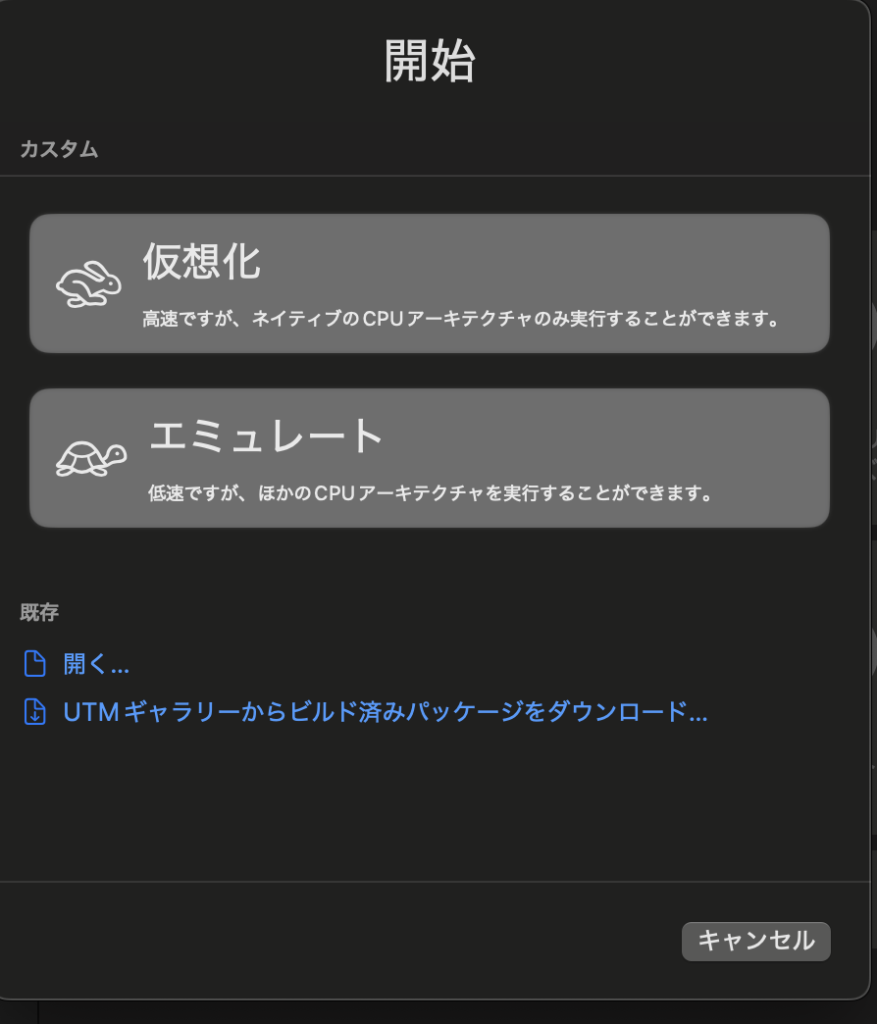
- Select "Virtualization" → "Windows"
-
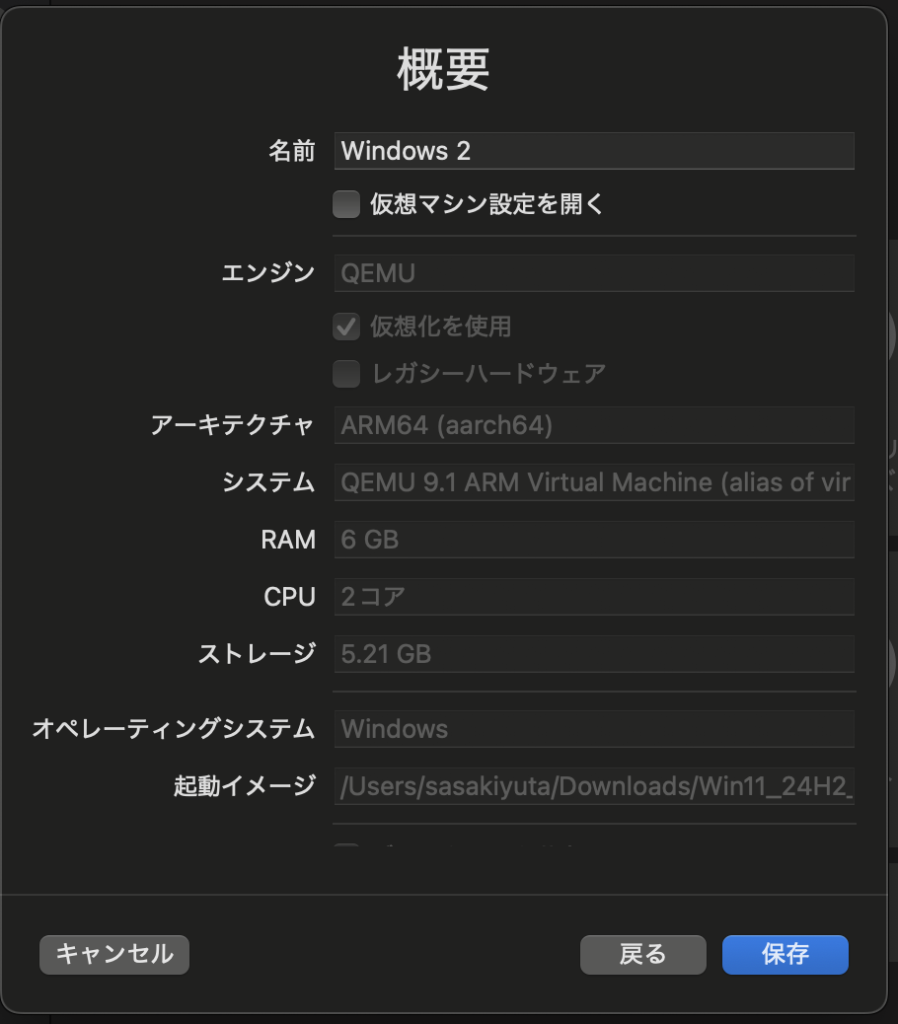
Configure the following recommended settings:
- Memory: 6GB or more (Windows may not start with 4GB)
- CPU cores: 2 cores or more (4 cores recommended)
- Storage: 64GB or more
- Display resolution: Full HD (1920×1080) recommended
-
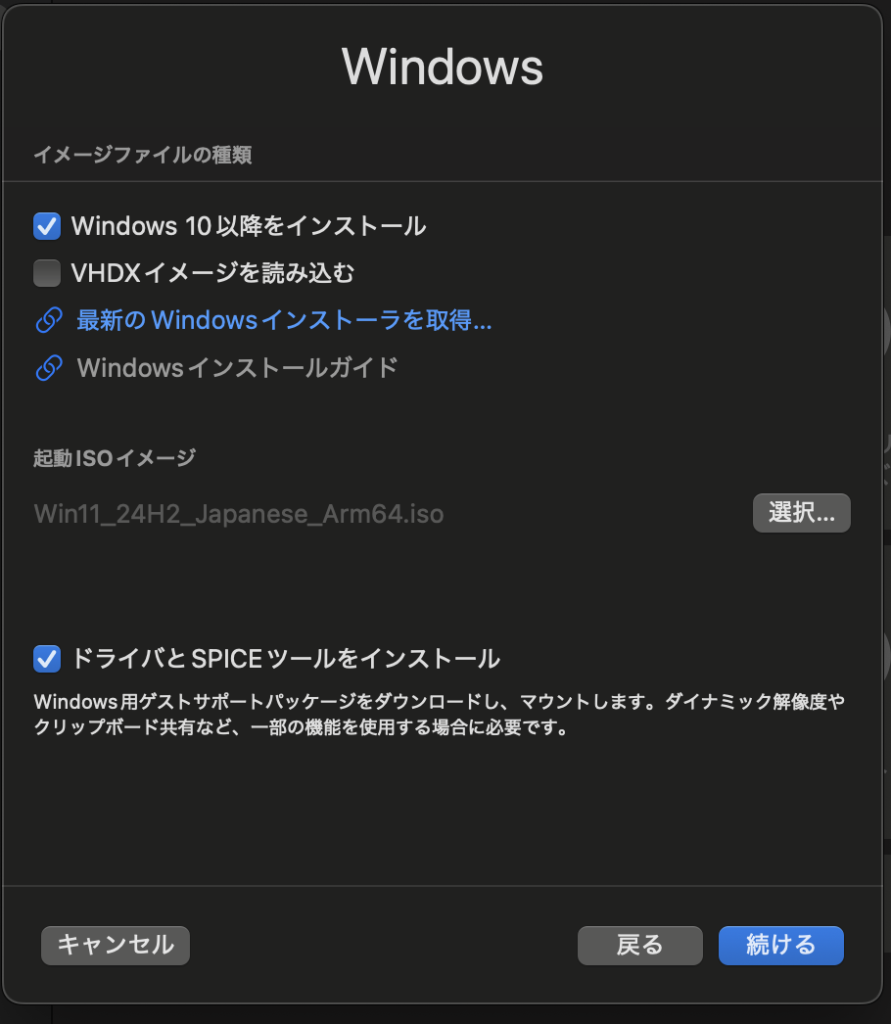
In the "ISO Image" field, select the Windows ISO file you downloaded
4. Installing Windows and Initial Setup
-
Start the created virtual machine
-
If the BIOS screen appears, select the device with the Windows ISO mounted to boot Windows
-
Follow the instructions on the Windows 11 installer screen:
- Language setting: English (or your preferred language)
- Edition: Windows 11 Pro recommended (for better compatibility with signing tools)
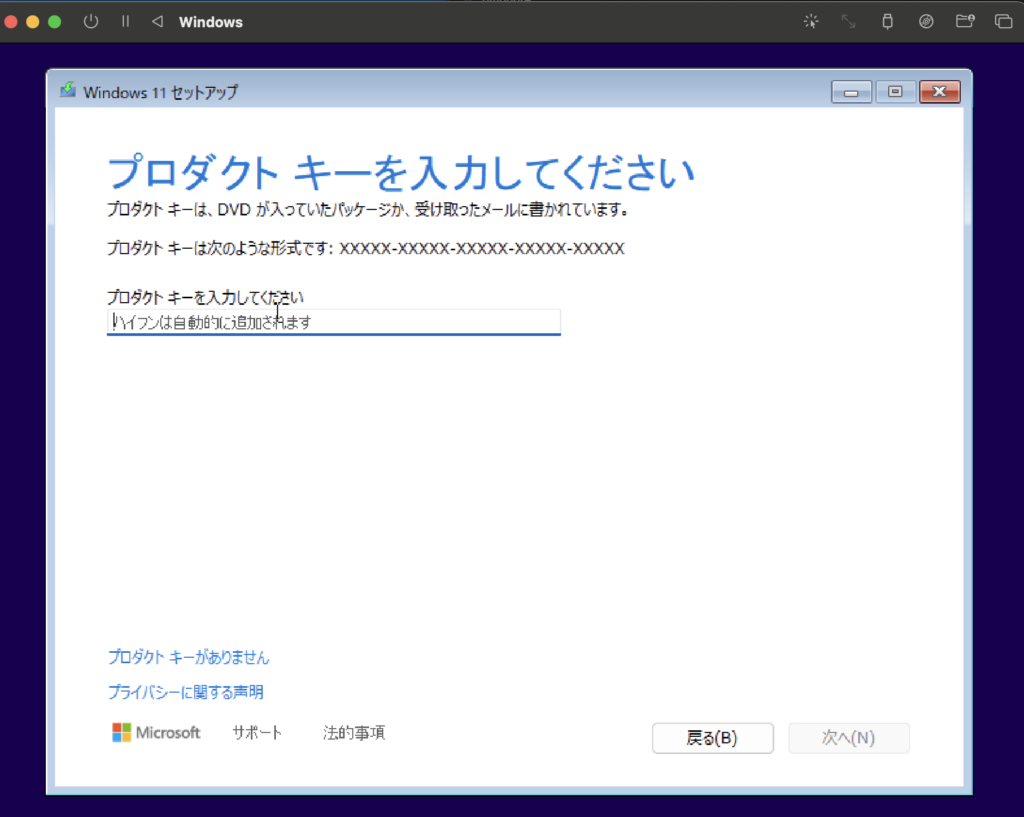
- Product key: You can select "I don’t have a product key"
- Installation type: "Custom"
- Partition: Select unallocated space
- After installation completes, proceed with initial setup:
- Microsoft account: Create new or use existing
- Privacy settings: Adjust as needed
USB Passthrough Setup
When you insert a USB device into the Mac, you’ll be prompted to allow the connection to the virtual machine. Select Yes.
Installing UTM Guest Tools
This is an important step for performance improvement:
- After Windows starts, select "Virtual Machine" → "Install SPICE/QEMU Tools" from the UTM menu
- The installer will automatically start in Windows; follow the instructions to install
- Restart the virtual machine after completion
5. Installing Windows SDK
This step is necessary to obtain Signtool, which is needed for code signing:
- Launch Microsoft Edge in Windows
- Visit the Windows SDK download page
- Click the "Download the Windows SDK" button
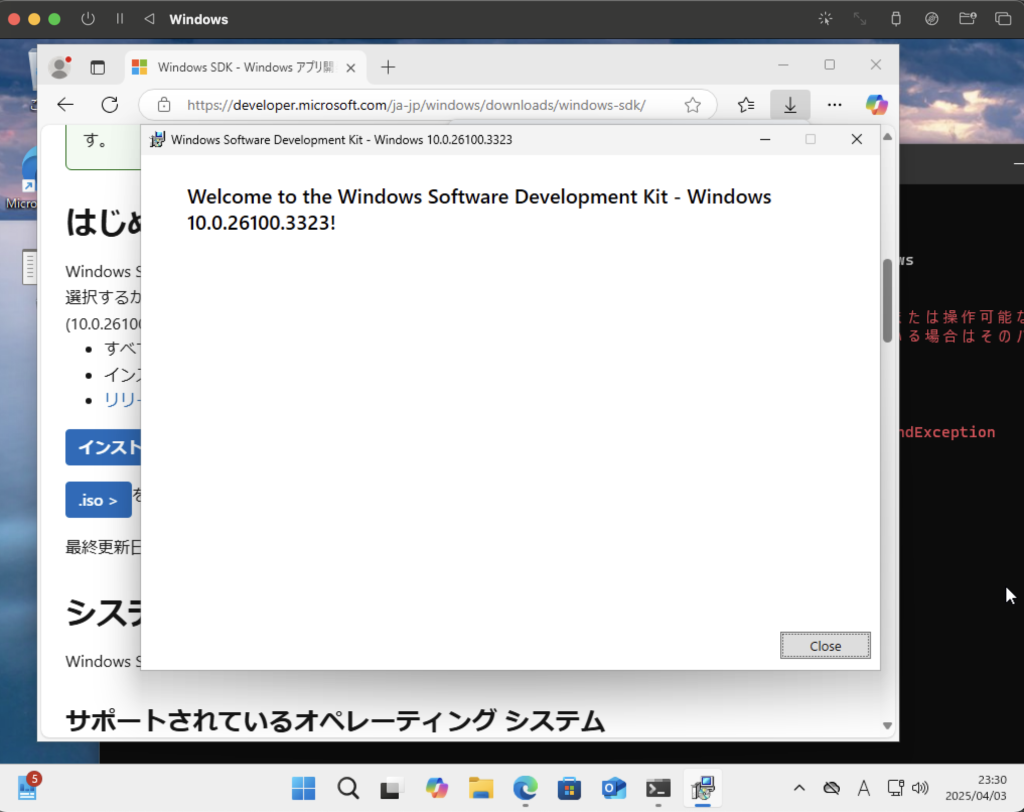
- Run the downloaded installer (winsdksetup.exe)
- On the installation options screen, select:
- Check "Windows SDK Signing Tools"
- Uncheck other components if not needed
- Click "Install" and wait for completion
6. Connecting the USB Token and Installing Drivers
- Connect the USB token to your Mac’s USB port
- Click the "USB" icon at the top of the UTM screen and select the connected USB token (e.g., "SafeNet eToken")
- If Windows recognizes the token, driver installation may start automatically
- You may need to install drivers manually on some machines:
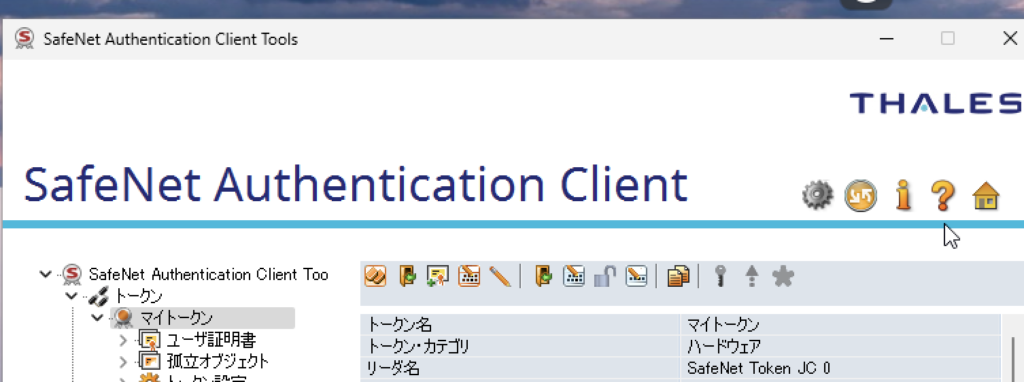
- Download the Windows Safenet Client mentioned in GlobalSign’s email
- Run the installer and follow instructions to complete
7. Executing Code Signing
Preparing Test Executable File
- Prepare the actual .exe file you want to sign
- Note: You need an actual executable file, not just a text file with a changed extension
- You can also copy a Notepad or similar executable file to use for testing
Running the Signing Tool
- Search for "Developer PowerShell for VS 2022" (or similar name) from the Start menu
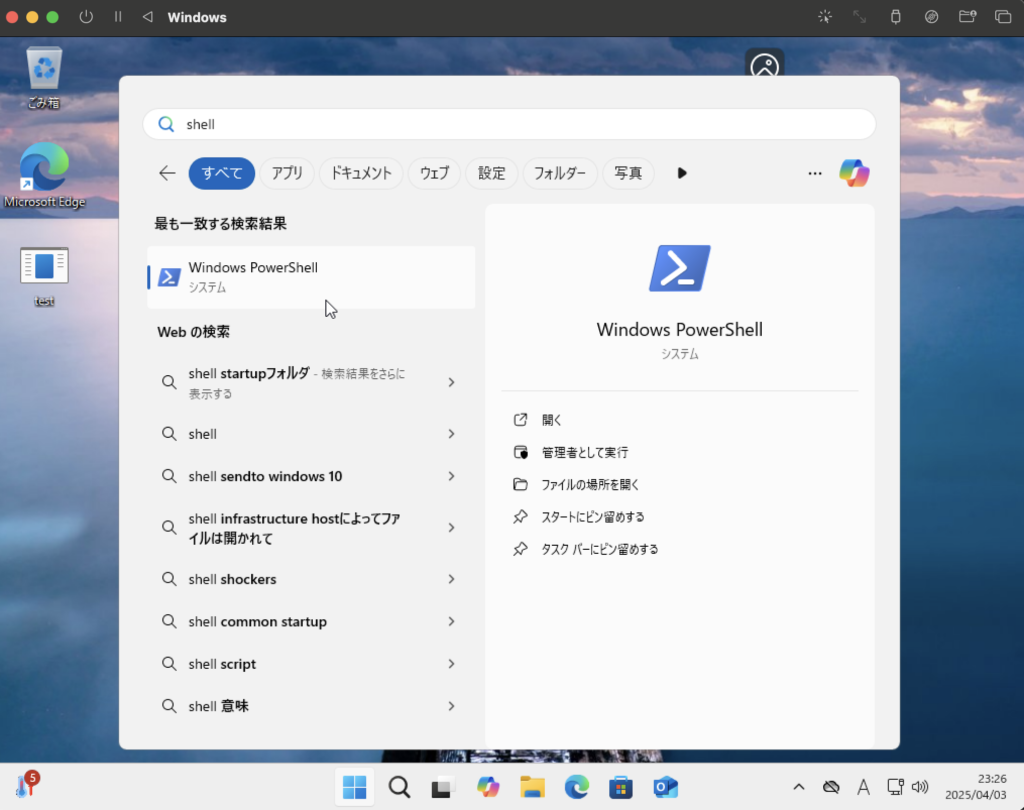
- Right-click and select "Run as administrator"
- Execute the following command to navigate to the signing tool directory:
cd "C:\Program Files (x86)\Windows Kits\10\bin\10.0.26100.0\x64"(Note: The version number "10.0.26100.0" may differ from what’s actually installed. Check the exact path in Explorer)
- Execute signing with the following command:
.\signtool.exe sign /tr http://timestamp.globalsign.com/tsa/r6advanced1 /fd sha256 /td sha256 /n "Your Certificate Name" "C:\path\to\your\file.exe"Replace the following parameters with your actual information:
/n "Your Certificate Name"– The exact name set when the certificate was issued"C:\path\to\your\file.exe"– The full path to the file you want to sign
- After executing the command, you may be prompted to enter a PIN. Enter the PIN you set when configuring the USB token.
Verifying the Signature
- Right-click the signed file in Explorer
- Select "Properties"
- If the "Digital Signatures" tab is displayed, the signing was successful
- Click the tab to check the details and verify that the certificate information is correct
Troubleshooting
If the USB Token Is Not Recognized
- Check if the USB token is selected in the UTM "Devices" menu
- Verify that the USB token is properly recognized on the Mac side:
- Check the "USB" section in the macOS "System Information" app
- Open Device Manager in Windows and check for warning marks on USB devices
- Disconnect and reconnect the USB token
- Try restarting UTM or the virtual machine
If the Signing Command Returns an Error
-
Certificate name is not accurate:
- Make sure the name after the
/nparameter exactly matches the certificate name - Certificate details can be verified in the Safenet Client
- Make sure the name after the
-
Timestamp server error:
- Use the official GlobalSign timestamp server URL:
http://timestamp.globalsign.com/tsa/r6advanced1 - Verify that internet connection is working properly
- Use the official GlobalSign timestamp server URL:
-
File is not an executable:
- Only legitimate executable files (.exe, .dll, .ocx, .msi, etc.) can be signed
- Files that are just text files with changed extensions cannot be signed
-
No administrator privileges:
- Make sure PowerShell is launched with "Run as administrator"
Conclusion
- It’s possible to run Windows in a virtual environment on Mac and perform code signing
- Using UTM allows you to set up the environment for free
- USB token passthrough configuration is crucial
- Signing command parameters must be specified accurately
Using this method, Mac users can perform code signing with GlobalSign certificates without needing a physical Windows machine. Once the environment is set up, it can be reused repeatedly.
References
- UTM official website
- Windows 11 ARM64 download page
- Windows SDK download page
- GlobalSign timestamp server information
- Signtool reference
- Announcement of code signing certificate specification changes
- SafeNet Authentication Client


