If you’re developing a user-generated content web app,
you probably want users to be able to share their posts on Twitter as well.
In this article, I’ll show you how to create a Twitter sharing feature using Bubble.
I’ll also explain how to set images uploaded by users as Twitter OGP images.
Background
I wanted to create a feature where users could share their posts on Twitter.
The underlying motivation is quite simple: if a post goes viral on Twitter, users might flow into my service…
I’m creating this feature with these slightly self-serving intentions.
To get people interested in your service through Twitter,
it’s important that shared content looks good on Twitter, right?
So rather than just sharing text content from user posts,
I’ll implement a Twitter share button that uses the OGP (Open Graph Protocol) system.
Target Audience
- People developing user-generated content services with Bubble
- Those who want to create a feature for sharing user-submitted information on Twitter
Note that this article doesn’t cover how to create the user posting functionality itself.
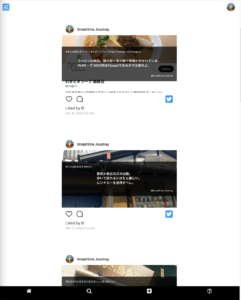
As shown in the image below, I’m assuming you already have a feature that displays user-submitted content,
and I’ll be creating a Twitter sharing feature on top of that.
If you haven’t implemented posting functionality yet,
there are many tutorials on how to create Instagram-like apps,
so please refer to those to implement posting functionality first.
Articles like this might be helpful:
【bubble】Perfect for Learning! Let’s Build an "Instagram-style" App / NoCode
What is OGP?
OGP is a system that displays a page’s title, URL, description, and image when content is shared on social media platforms like Facebook and Twitter.
Reference article: https://www.e-webseisaku.com/column/marketing/3947/
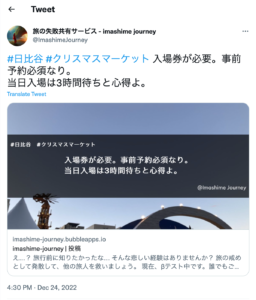
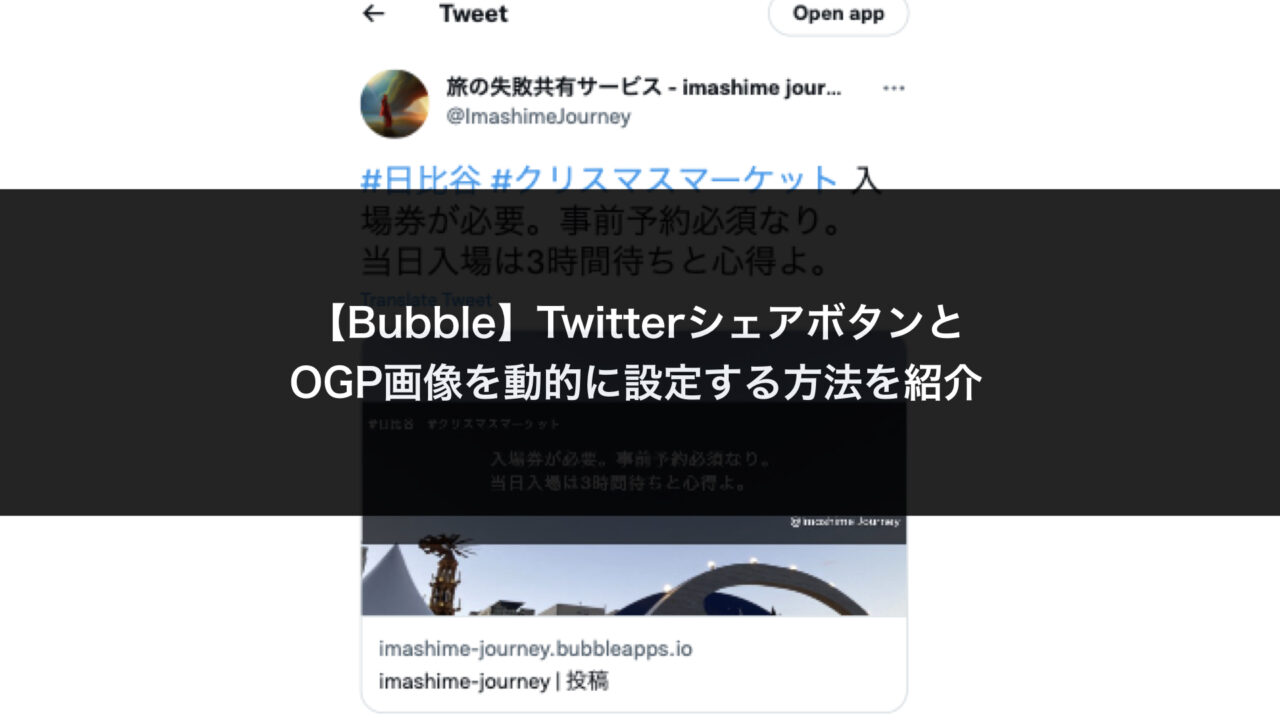
This is how it looks in a tweet: example here.
Compared to text-only tweets, this provides more visual information,
which can better capture the interest of Twitter users.
Final Result
Below is an example of user-submitted content from a travel advice sharing service.
It displays text and images posted by users.
Both types of information are stored in the Bubble database.

https://imashime-journey.bubbleapps.io/n_post_detail/1671867003846×762817745462755300
When you click the Twitter icon above, a tweet composition screen appears.
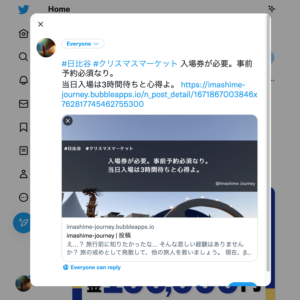
When you tweet, the content will be shared along with the OGP image.
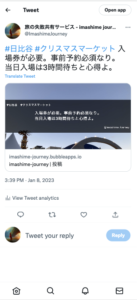
When people see this in their Twitter feed, they’re more likely to become curious.
Now, let’s get to the implementation.
Implementation
Implementing the share button is very simple.
We’ll use the official plugin (AddToAny Share Buttons).
Search for this plugin in the Plugins section and install it.
If you’re not sure how to install plugins, articles like this one can help.
From Design > UI Builder, search for "Share Buttons" and
place the share button where you want it.
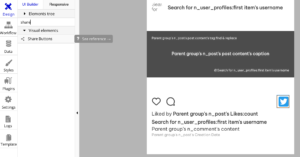
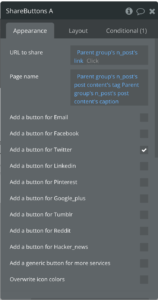
For "URL to share", specify the URL to share (most likely the link to the current page),
and for "Page name", enter any name you like.
By selecting "Add a button for Twitter",
a Twitter share button will be generated.
Next, we’ll configure the OGP settings.
OGP settings are applied to "pages."
If the page displaying user-submitted content is called "n_post_detail", we’ll configure OGP for this page.
Select the Element for that page,
and add OGP settings to the "Page HTML Header".
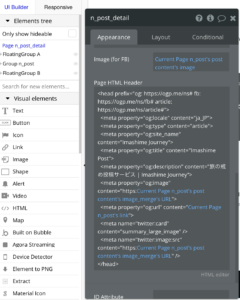
For example, configure it like this:
<head prefix="og: https://ogp.me/ns# fb: https://ogp.me/ns/fb# article: https://ogp.me/ns/article#">
  <meta property="og:locale" content="ja_JP">
  <meta property="og:type" content="article">
  <meta property="og:site_name" content="Imashime Journey">
  <meta property="og:title" content="Imashime Post">
  <meta property="og:description" content="旅の戒め投稿サービス | Imashime Journey">
  <meta property="og:image" content="https:[Image URL stored in the database]">
  <meta property="og:url" content="[URL of the user post display page]">
  <meta name="twitter:card" content="summary_large_image" />
  <meta name="twitter:image:src" content="https:[Image URL stored in the database]" />
</head>
For the parts in brackets [], you can use "insert dynamic data"
to set dynamic values.
For [Image URL stored in the database],
you can specify something like "Current Page image column URL" to dynamically set an image stored in the database as the OGP image.
For [URL of the user post display page],
you can specify something like "Current Page page_name link" to dynamically set the page URL.
With these settings complete, Deploy and test it.
Note that the page must be Public,
so you’ll need to release to Production and make your service public.
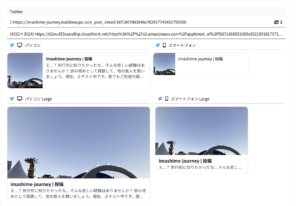
You can check how the display will look using the
OGP Debugger/Simulator.
If you enter the URL of the page:
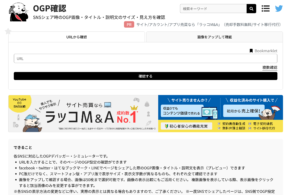
You can see how it will appear:
Conclusion
In this article, I showed you how to create a Twitter sharing feature using Bubble.
I also explained how to set images uploaded by users as Twitter OGP images.
I hope this article was helpful to someone.
That’s all for now.
